First thing to know about making your own vinegar is that you shouldn't use it for canning unless it has an acidity level of at least 4.5% and some canning recipes call for 5%, which is what many store-bought jug vinegars say they have. However, there's no need to test the acidity level if you just want to use it for salad dressings, regular recipes or other general household use.
Next thing is, the directions I've included here are how I do it. There are lots of variations that will yield similar results. And there are vinegar connoisseurs just like with wine. So try my method if you want but look around and you'll find other ideas on how to do it and what to use. Vinegar can be made from almost any liquid that contains enough sugar so don't stop with apples -- experiment with grapes (how about making wine vinegar?), peaches, beets, berries or what have you.
If you press your own apple cider, you're well on your way to making vinegar but if you buy it, be sure to choose non-pasteurized cider. Also, check the label to be sure it's preservative-free. Many cider mills add sodium benzoate as a preservative and that can make it less likely that your cider will ferment or turn into hard cider which is the first step in making apple cider vinegar.
When I make vinegar, I set aside a couple gallons of cider in crocks. I make sure to leave lots of headroom in the crock as the cider will be frothy and may foam over the top during the first fermentation stage. There's nothing wrong if it does this -- just wipe the crock off and let it continue to sit -- but it can be messy and draw fruit flies. So I use a 2-gallon crock to hold 1-1/2 gallons of cider. I cover the container with a clean cotton tea towel, tying it with a piece of string so dust and bugs can't get into the crock over the next few months.
As the sugar in the cider changes to alcohol, it becomes hard cider. That can take anywhere from 1 week to 6 weeks, depending on the temperature and the sugar content of the apples used to make the cider. Some people choose to hurry this stage along by adding yeast but I prefer the easy path and just set the crock in a corner of the pantry for several months.
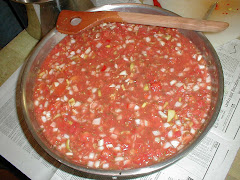
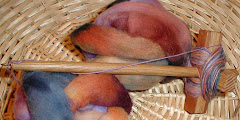
 If I have a mother-of-vinegar (pictured above) from a previous batch of vinegar I may carefully pour that into the crock, on top of the vinegar, to help the process along but wild spores floating in the air will start the fermenting process, too. Check the cider after a few months to see if it's strong enough. The process usually takes from 4 to 6 months, start to finish. And that's all there is to it.
If you do want to use homemade vinegar for canning, this link offers a good description of the steps for vinegar titration. The process is similar to testing the acidity level of wine. But, again, if you don't plan to use your vinegar for canning you don't have to bother with this. Just go with vinegar that tastes and smells good to you.


3 comments:
Hi. I found your blog while surfing the Homesteading Webloggers webring. I've been thinking about how to make my own apple cider vinegar and wondering if it was even possible to make it with the correct acidity for canning. Your information is great and thanks for the link to the titration process. Just what I was looking for!
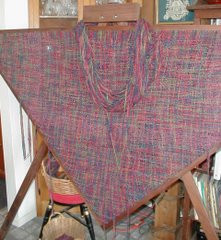
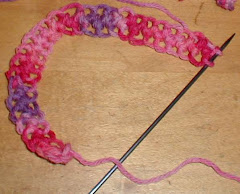
(I see you're a spinner, weaver, knitter, and homeschooler too. I've got an empty nest now, but the spinning, knitting, and weaving are still a part of my life.)
Glad you found something useful, Leigh. I can easily spend an hour or more going from site-to-site thru the Homesteading Webloggers ring -- love reading about what everyone else is up to.
Very nicee post
Post a Comment